WORDPRESS MIGRATION
Complete WordPress Migration Guide: How to Safely Move Your Website
Why WordPress Migrations Matter
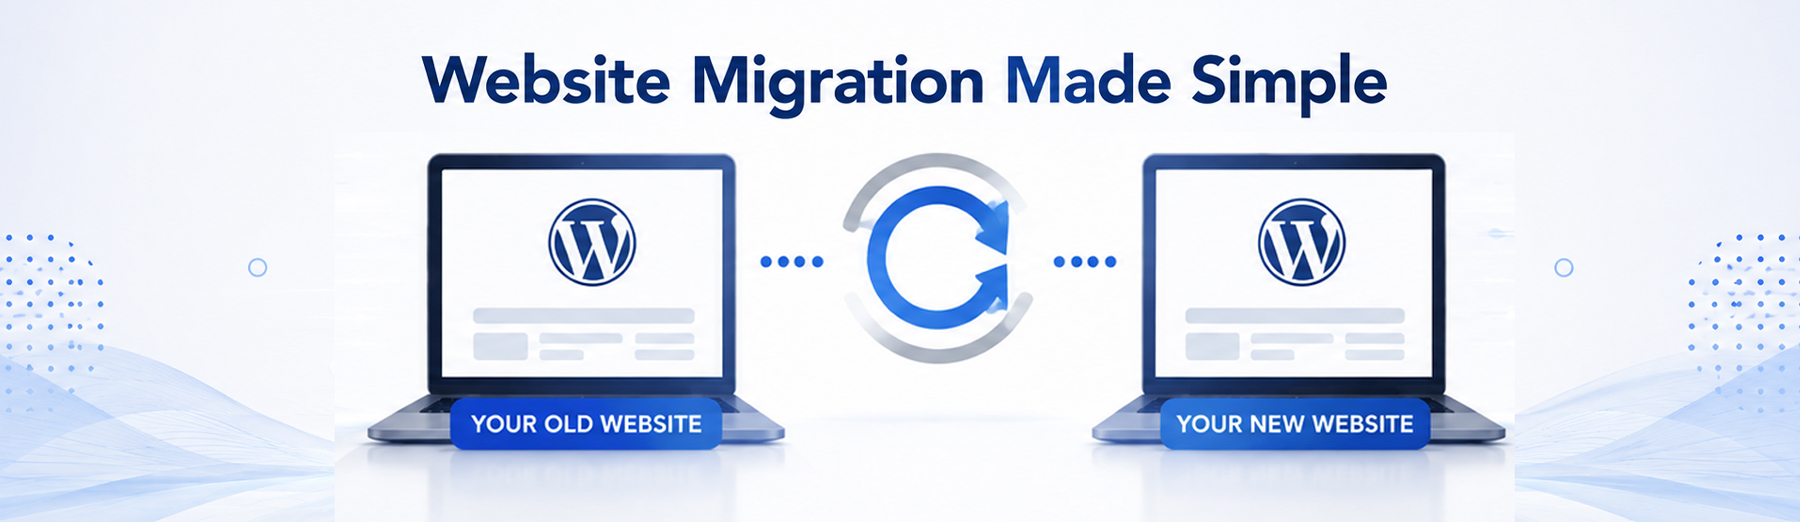
Migrating a WordPress website is a common task, whether you’re changing hosting providers, moving to a new domain, launching a redesigned website, or transferring from a staging environment to production. While the process may seem straightforward, an improperly planned migration can result in website downtime, broken functionality, lost data, SEO issues, and a poor user experience.
A successful WordPress migration involves much more than copying website files. It requires careful preparation, reliable backups, compatibility checks, thorough testing, and a structured launch process to ensure every part of your website continues to function correctly after the move.
Whether you’re managing a personal blog, business website, or WooCommerce store, following proven migration best practices can help minimize risks and reduce downtime.
Common Reasons to Migrate a WordPress Website
Website owners migrate WordPress websites for many reasons, including:
- Moving to a faster or more reliable hosting provider.
- Launching a redesigned website.
- Migrating from a staging website to production.
- Changing domain names.
- Upgrading server infrastructure.
- Consolidating multiple websites.
- Improving website performance and security.
Each migration scenario requires careful planning to avoid unexpected problems during and after the move.

Before You Begin
Before migrating your WordPress website, make sure you have access to everything you’ll need throughout the process. A successful migration depends on careful preparation, and taking a few minutes to verify these requirements can help prevent unexpected downtime, compatibility issues, or data loss.
Whether you’re migrating a personal website, business website, or WooCommerce store, completing this checklist before you begin will make the migration smoother and easier to troubleshoot if problems arise.
Migration Preparation Checklist
Before starting your WordPress migration, confirm that you have:
- Administrator access to your WordPress Dashboard.
- Access to your current web hosting control panel.
- Access to your new hosting account (if migrating hosts).
- Domain registrar or DNS management access.
- A complete website backup, including files and the database.
- The latest versions of WordPress, themes, and plugins.
- Compatible PHP and MySQL versions on the destination server.
- Sufficient disk space for your website and backup files.
- A staging environment for testing (recommended).
Gather Your Website Information
Before moving your website, it’s helpful to document important information such as:
- WordPress version.
- Active theme and child theme.
- Installed plugins.
- PHP version.
- Database name.
- Current permalink structure.
- SSL certificate status.
- DNS provider.
- Analytics and tracking codes.
Keeping this information readily available can simplify troubleshooting and make it easier to verify that everything functions correctly after the migration.
Verify Website Health
A migration is an excellent opportunity to identify and resolve existing issues before transferring your website.
Before proceeding, check for:
- WordPress core updates.
- Plugin and theme updates.
- PHP warnings or errors.
- Broken links.
- Malware or security issues.
- Website performance problems.
- Backup integrity.
Resolving known issues before migrating helps reduce the risk of carrying existing problems into your new hosting environment.
Preparation Tip: A migration checklist is one of the simplest ways to reduce downtime and avoid unexpected problems. Confirming access credentials, backups, server compatibility, and website health before you begin helps ensure a smoother migration and makes troubleshooting much easier if issues arise afterward.
Step 1: Create a Complete Backup
Creating a complete backup is the most important step before migrating a WordPress website. A reliable backup provides a safety net, allowing you to restore your website if anything goes wrong during the migration process. Never begin a migration without verifying that your backup is complete and accessible.
A full WordPress backup should include your website files, database, themes, plugins, uploads, and configuration files. Having both file and database backups ensures you can fully restore your website if necessary.
What to Back Up
Before migrating your website, create backups of the following:
- WordPress core files.
- Themes and child themes.
- Plugins.
- Media Library uploads.
- WordPress database.
- wp-config.php file.
- Custom code and configuration files.
- SSL certificates (if applicable).
Recommended Backup Methods
There are several reliable ways to back up a WordPress website:
Manual Backup
Use FTP or your hosting File Manager to download your website files and export your database using phpMyAdmin or your hosting control panel.
Backup Plugin
Popular backup plugins include:
- UpdraftPlus
- Duplicator
- All-in-One WP Migration
- Solid Backups (formerly BackupBuddy)
Choose a solution that creates both file and database backups.
Hosting Provider Backups
Many managed WordPress hosting providers, including WP Engine, SiteGround, and Kinsta, offer automatic daily backups and one-click restore points. These backups provide an additional layer of protection before beginning a migration.
Verify Your Backup
Creating a backup is only the first step. Before proceeding, verify that:
- The backup completed successfully.
- The backup files are not corrupted.
- The database export is included.
- The backup can be restored if necessary.
- A copy is stored in a secure location outside your web server.
Testing your backup before migrating can save significant time if unexpected issues occur.
Best Practice: Never rely on a single backup. Keep at least one additional copy stored in a separate location, such as cloud storage or your local computer. Having multiple verified backups provides extra protection against data loss during a WordPress migration.
Step 2: Choose the Right Migration Method
There are several ways to migrate a WordPress website, and the best approach depends on your website’s size, hosting environment, technical experience, and specific migration requirements. Some methods are fully automated using plugins, while others involve manually transferring website files and databases.
Choosing the right migration method before you begin can simplify the process, reduce downtime, and minimize the risk of migration errors.
Popular WordPress Migration Methods
Plugin-Based Migration
Migration plugins automate much of the migration process by exporting your website and importing it into the new hosting environment.
Popular options include:
- All-in-One WP Migration
- Duplicator
- Migrate Guru
- WPvivid Backup & Migration
Plugin-based migrations are often the easiest option for small to medium-sized websites and require little technical knowledge.
Manual Migration
A manual migration involves copying website files via FTP or your hosting File Manager and exporting and importing the WordPress database using phpMyAdmin or similar database tools.
This approach provides greater control but requires more technical experience and careful attention to detail.
Manual migrations are commonly used for:
- Large websites
- Custom WordPress installations
- Complex hosting environments
- Advanced troubleshooting
Hosting Provider Migration Services
Many managed WordPress hosting companies provide free migration services or automated migration tools.
Examples include:
- WP Engine
- Kinsta
- SiteGround
- Cloudways
These services can significantly reduce migration time while minimizing downtime and configuration issues.
WordPress Migration Method Comparison
| Migration Method | Best For | Difficulty |
|---|---|---|
| Migration Plugin | Most WordPress websites | Easy |
| Manual Migration | Advanced users and developers | Advanced |
| Hosting Migration Service | Managed hosting customers | Easy |
Which Method Should You Choose?
If you’re comfortable working with WordPress but have limited server experience, a migration plugin is usually the quickest and safest option.
For large websites, custom applications, or complex server environments, a manual migration provides greater flexibility and control.
If your hosting provider offers a professional migration service, it’s often the simplest solution and can help reduce the risk of errors.
Migration Tip: There isn’t a single “best” migration method for every website. Choose the option that matches your website’s complexity, your technical experience, and the level of control you need. When in doubt, use a reputable migration plugin or your hosting provider’s migration service to simplify the process.
Step 3: Migrate Your WordPress Website
Once you’ve selected the best migration method and verified your backups, you’re ready to move your WordPress website. Although the exact process varies depending on the migration method you choose, most WordPress migrations follow the same general workflow.
Taking your time during each step can help prevent missing files, database issues, broken links, or unexpected downtime.
General WordPress Migration Process
Most WordPress website migrations include the following steps:
- Export your WordPress website.
- Prepare the new hosting environment.
- Upload your website files.
- Import your WordPress database.
- Update the wp-config.php file if necessary.
- Configure the new database connection.
- Update the website URL (if changing domains).
- Save and refresh your permalink structure.
- Verify that the website loads correctly.
Completing these steps carefully helps ensure your website functions correctly after the migration.
If You’re Using a Migration Plugin
Most migration plugins automate much of the migration process.
Typically, you’ll:
- Export your existing website.
- Download the migration package.
- Install WordPress on the destination server.
- Install the same migration plugin.
- Import the migration package.
- Allow the plugin to update your website automatically.
Always review the plugin’s instructions, as each migration tool may use a slightly different workflow.
If You’re Performing a Manual Migration
Manual migrations generally require you to:
- Copy all WordPress files to the new server.
- Create a new MySQL database.
- Import your existing database.
- Update the database credentials in wp-config.php.
- Configure your new hosting environment.
- Verify file permissions.
- Test the migrated website before updating DNS.
Manual migrations provide greater flexibility but require additional technical knowledge.
Verify the Migration Before Going Live
Before directing visitors to the new website, confirm that:
- All pages load correctly.
- Images display properly.
- Menus function as expected.
- Forms submit successfully.
- Plugins are working.
- Themes display correctly.
- WooCommerce checkout functions normally (if applicable).
- Internal links are working.
Resolving issues before updating DNS helps reduce downtime and improves the overall migration experience.
Migration Tip: Avoid making content changes on your live website while the migration is in progress. Keeping the source website unchanged until the migration is complete helps ensure that all files, database content, and settings remain synchronized during the transfer.
Step 4: Test Your Website Before Going Live
Before updating your DNS settings or making your new website publicly accessible, thoroughly test the migrated website in its new hosting environment. Identifying and fixing issues before launch helps prevent downtime, broken functionality, and a poor user experience.
Even if the migration appears successful, it’s important to verify that every major feature of your website works as expected.
Website Functionality Checklist
Review the following areas before going live:
- Homepage loads correctly.
- Navigation menus function properly.
- Internal links open the correct pages.
- Images, videos, and downloadable files display correctly.
- Contact forms submit successfully.
- Search functionality works properly.
- User login and registration pages function as expected.
- SSL certificate is active and all pages load over HTTPS.
WooCommerce Store Checklist
If you’re migrating a WooCommerce website, also verify:
- Products display correctly.
- Product images load properly.
- Product variations work.
- Shopping cart functions correctly.
- Checkout process completes successfully.
- Shipping methods display properly.
- Payment gateways process test transactions.
- Customer accounts and order history are intact.
Testing these features before launch helps avoid lost sales and customer frustration.
SEO and Performance Checks
Before making the new website live, confirm that:
- XML sitemap is accessible.
- Robots.txt file is correct.
- Meta titles and descriptions are intact.
- Redirects function correctly.
- Google Analytics is tracking visits.
- Google Search Console remains connected.
- Page speed and Core Web Vitals are acceptable.
- No broken links or missing images are detected.
Taking time to complete these checks helps preserve your search visibility after the migration.
Test Across Multiple Devices
Review your migrated website on:
- Desktop computers.
- Tablets.
- Mobile phones.
- Multiple web browsers (Chrome, Edge, Firefox, and Safari).
Pro Tip: Don’t rely solely on a quick homepage check. Test your website as if you were a visitor or customer—browse important pages, submit forms, complete a purchase (if applicable), and verify that every critical feature works before directing traffic to the new website.
Step 5: Update DNS and Launch Your Website
After confirming that your migrated website functions correctly, the final step is to direct your domain name to the new hosting environment. This is accomplished by updating your Domain Name System (DNS) settings.
DNS changes allow visitors to access your website on the new server. Although the update itself only takes a few minutes, it can take time for the changes to propagate across the internet.
Update Your DNS Records
Log in to your domain registrar or DNS provider and update the appropriate DNS records provided by your new hosting company.
Depending on your hosting setup, you may need to update:
- A Record
- CNAME Record
- Nameservers
- IPv4 or IPv6 address
Always verify the information provided by your hosting provider before making any DNS changes.
Understand DNS Propagation
After updating your DNS records, changes may not appear immediately for every visitor.
DNS propagation can take anywhere from a few minutes to 48 hours, although most updates are completed within several hours.
During this period:
- Some visitors may see the old website.
- Others may reach the new website.
- Email services may also be affected if DNS records are modified.
This behavior is completely normal during DNS propagation.
Keep Your Previous Hosting Account Active
Do not cancel your previous hosting account immediately after updating DNS.
Keeping your original hosting active for several days provides a safety net in case:
- DNS propagation is delayed.
- Files need to be copied again.
- Database synchronization is required.
- Unexpected migration issues are discovered.
Waiting until the migration has been fully verified helps prevent accidental downtime or data loss.
Confirm the Website Is Live
After DNS propagation is complete, verify that:
- The correct website loads.
- SSL certificates are working properly.
- Forms continue to function.
- Email services operate normally.
- Analytics are collecting data.
- Search engines can crawl the website.
- No unexpected errors appear.
Performing a final review helps ensure your WordPress migration has been completed successfully.
Important Reminder: Updating your DNS records is only the final step of the migration process—not the end of your testing. Continue monitoring your website for several days after launch to confirm that visitors, search engines, forms, email, and website functionality continue to operate normally.
Step 6: Complete Your Post-Migration Checklist
Successfully launching your WordPress website is only part of the migration process. After your new website is live, it’s important to complete several post-migration tasks to verify that everything is functioning correctly and that your SEO, security, and website performance have not been affected.
Taking time to perform these final checks can help identify issues before they impact your visitors or search engine rankings.
Verify Website Functionality
Perform one final review of your website after DNS propagation has completed.
Confirm that:
- Every important page loads correctly.
- Navigation menus function properly.
- Images, videos, and downloadable files display correctly.
- Contact forms send and receive submissions.
- User login and registration work correctly.
- Search functionality operates as expected.
- WooCommerce checkout completes successfully (if applicable).
Review SEO Settings
Migrating a website can unintentionally affect your search visibility.
After launch, verify that:
- XML sitemap is accessible.
- Robots.txt file is correct.
- Canonical URLs remain unchanged.
- Meta titles and descriptions are intact.
- Structured data (Schema.org) validates successfully.
- Redirects continue working properly.
- No important pages return 404 errors.
These checks help preserve your existing search engine rankings.
Reconnect Website Services
Confirm that all third-party services continue working correctly.
Examples include:
- Google Analytics
- Google Search Console
- Microsoft Clarity
- Matomo Analytics
- Google Tag Manager
- Email marketing integrations
- Payment gateways
- CAPTCHA services
- CDN and caching services
Testing these integrations helps ensure accurate reporting and uninterrupted functionality.
Monitor Website Performance
Continue monitoring your website during the first several days after launch.
Watch for:
- Slow page loading.
- PHP errors.
- Broken images.
- Missing files.
- Plugin conflicts.
- SSL warnings.
- Server resource issues.
Early monitoring allows you to resolve problems before they affect visitors.
Submit Your Website to Google Search Console
If your domain or website structure has changed, submit your updated XML sitemap through Google Search Console and request indexing for important pages.
This helps search engines discover changes more quickly and can reduce the time needed for search results to reflect your updated website.
Best Practice: Monitor your website closely for at least one week after completing a migration. Regularly reviewing analytics, crawl reports, search performance, and website functionality allows you to identify and resolve issues before they have a significant impact on visitors or search engine visibility.
Common WordPress Migration Problems and How to Fix Them
Even a carefully planned WordPress migration can encounter unexpected issues. Fortunately, most migration problems are common and can be resolved by identifying the underlying cause and applying the appropriate solution.
Below are some of the most frequent problems website owners experience after migrating a WordPress website.
White Screen of Death (WSOD)
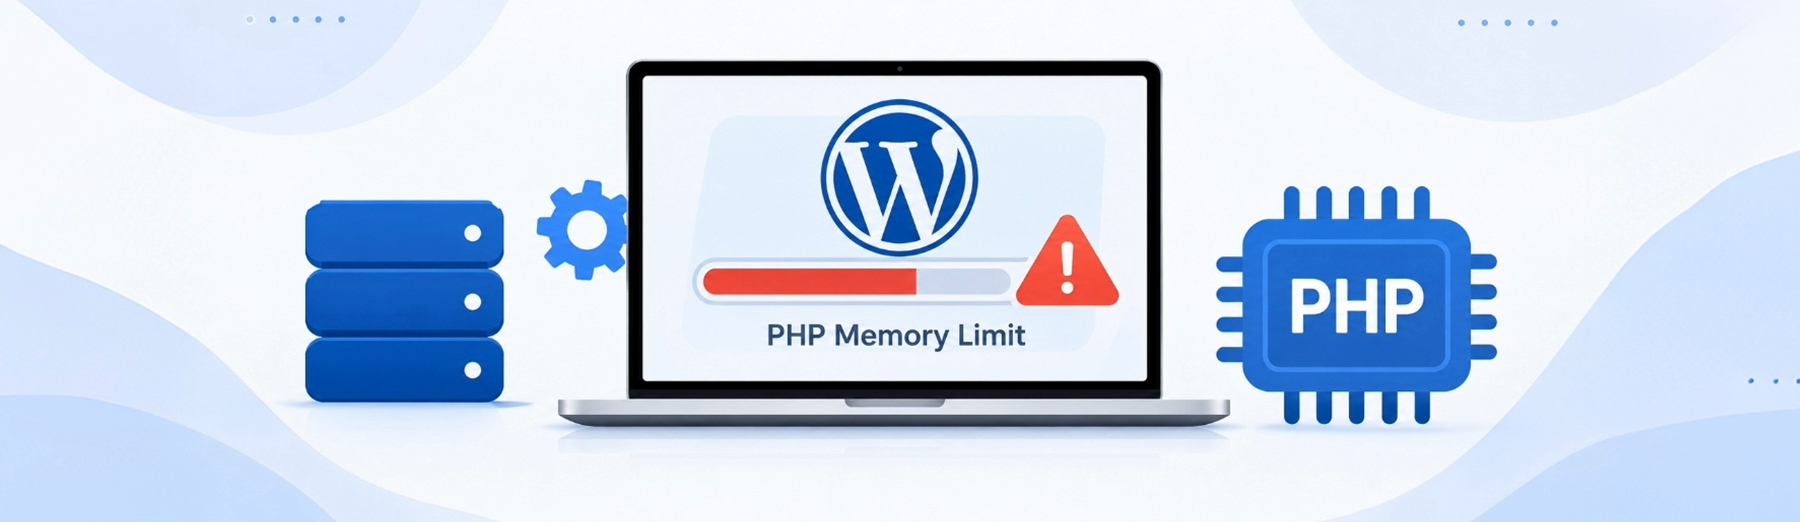
A blank white screen usually indicates a PHP error, memory exhaustion, or a plugin or theme conflict.
Possible solutions:
- Increase the PHP memory limit.
- Disable recently installed plugins.
- Switch to a default WordPress theme.
- Enable WordPress debugging.
- Review your server error logs.
Internal Server Error (500)
A 500 Internal Server Error often results from corrupted .htaccess files, PHP configuration issues, or incompatible plugins.
Possible solutions:
- Regenerate the .htaccess file.
- Increase PHP memory.
- Disable plugins one at a time.
- Verify file permissions.
- Check your hosting error logs.
Database Connection Error
If WordPress cannot connect to the database, verify that your database settings are correct.
Check:
- Database name
- Database username
- Database password
- Database host
- Database server availability
Also verify that your wp-config.php file contains the correct database credentials.
Broken Images or Missing Media
If images fail to load after migration, the issue may be caused by incomplete file transfers or incorrect website URLs.
Possible solutions include:
- Verify the /wp-content/uploads/ folder was copied completely
- Run a Search and Replace if the domain changed.
- Regenerate image thumbnails.
- Clear browser and website cache.
Mixed Content Warnings
After enabling SSL, your browser may report mixed content if some resources still load over HTTP.
Common fixes include:
- Update the WordPress Address (URL) and Site Address (URL).
- Replace HTTP URLs with HTTPS URLs.
- Clear caches.
- Verify SSL configuration.
Broken Permalinks
If pages return 404 Not Found errors after migration, your permalink settings may need to be refreshed.
To fix this:
- Go to Settings → Permalinks.
- Click Save Changes without modifying the settings.
- Test your website again.
This regenerates WordPress rewrite rules.
Plugin or Theme Compatibility Issues
A migration may expose compatibility problems between WordPress, PHP, plugins, or themes.
Recommended steps:
- Update WordPress.
- Update plugins.
- Update themes.
- Confirm PHP compatibility.
- Replace unsupported plugins if necessary.
Slow Website Performance
Some websites become slower immediately after migration.
Possible causes include:
- Missing caching.
- Large images.
- Server configuration differences.
- Database optimization.
- CDN configuration.
Review your website’s performance after launch and optimize it as needed.
Troubleshooting Tip: Most migration issues can be resolved without restoring your backup. Work through problems methodically by checking server logs, verifying configuration settings, testing plugins individually, and confirming that your files, database, and DNS settings were migrated correctly before making additional changes.
WordPress Migration Best Practices
A successful WordPress migration doesn’t end when your website goes live. Following proven best practices before, during, and after the migration helps reduce downtime, protect your data, preserve search engine rankings, and ensure your website continues to perform reliably.
Whether you’re migrating a small business website or a large WooCommerce store, these recommendations can help make the process smoother and more successful.
Follow These Best Practices
For the best migration experience:
- Always create and verify a complete backup before making changes.
- Test the migration in a staging environment whenever possible.
- Keep WordPress, themes, and plugins updated before migrating.
- Verify PHP and MySQL compatibility on the new hosting server.
- Avoid publishing new content while the migration is in progress.
- Test every important page, form, and feature before updating DNS.
- Keep your previous hosting account active until the migration is fully verified.
- Monitor website performance and server logs after launch.
- Submit your updated XML sitemap through Google Search Console if necessary.
- Continue monitoring SEO performance during the weeks following the migration.
When to Consider Professional Migration Services
Although many WordPress migrations can be completed successfully using plugins or manual methods, some websites benefit from professional assistance.
You may want to consider expert migration services if your website includes:
- WooCommerce with active customer orders.
- Membership or subscription functionality.
- Large media libraries.
- Custom themes or plugins.
- Complex server configurations.
- High-traffic business websites.
- Mission-critical applications where downtime must be minimized.
Professional migration services can help reduce risk while ensuring that your website, data, and SEO remain intact throughout the migration process. Businesses with more complex WordPress environments may also benefit from professional WordPress development services for migration planning, testing, troubleshooting, and post-launch support.
Final Tip: A well-planned WordPress migration is more than moving files from one server to another. Careful preparation, reliable backups, thorough testing, and ongoing monitoring help ensure a successful transition while protecting your website’s performance, security, and search visibility.